AIRODISC / Installation
How to install an aero wheel disc.
Three parts, about thirty minutes a pair, and two rules that matter more than the rest of this page combined: torque it to the supplied figure, and re-check it after the first drive.
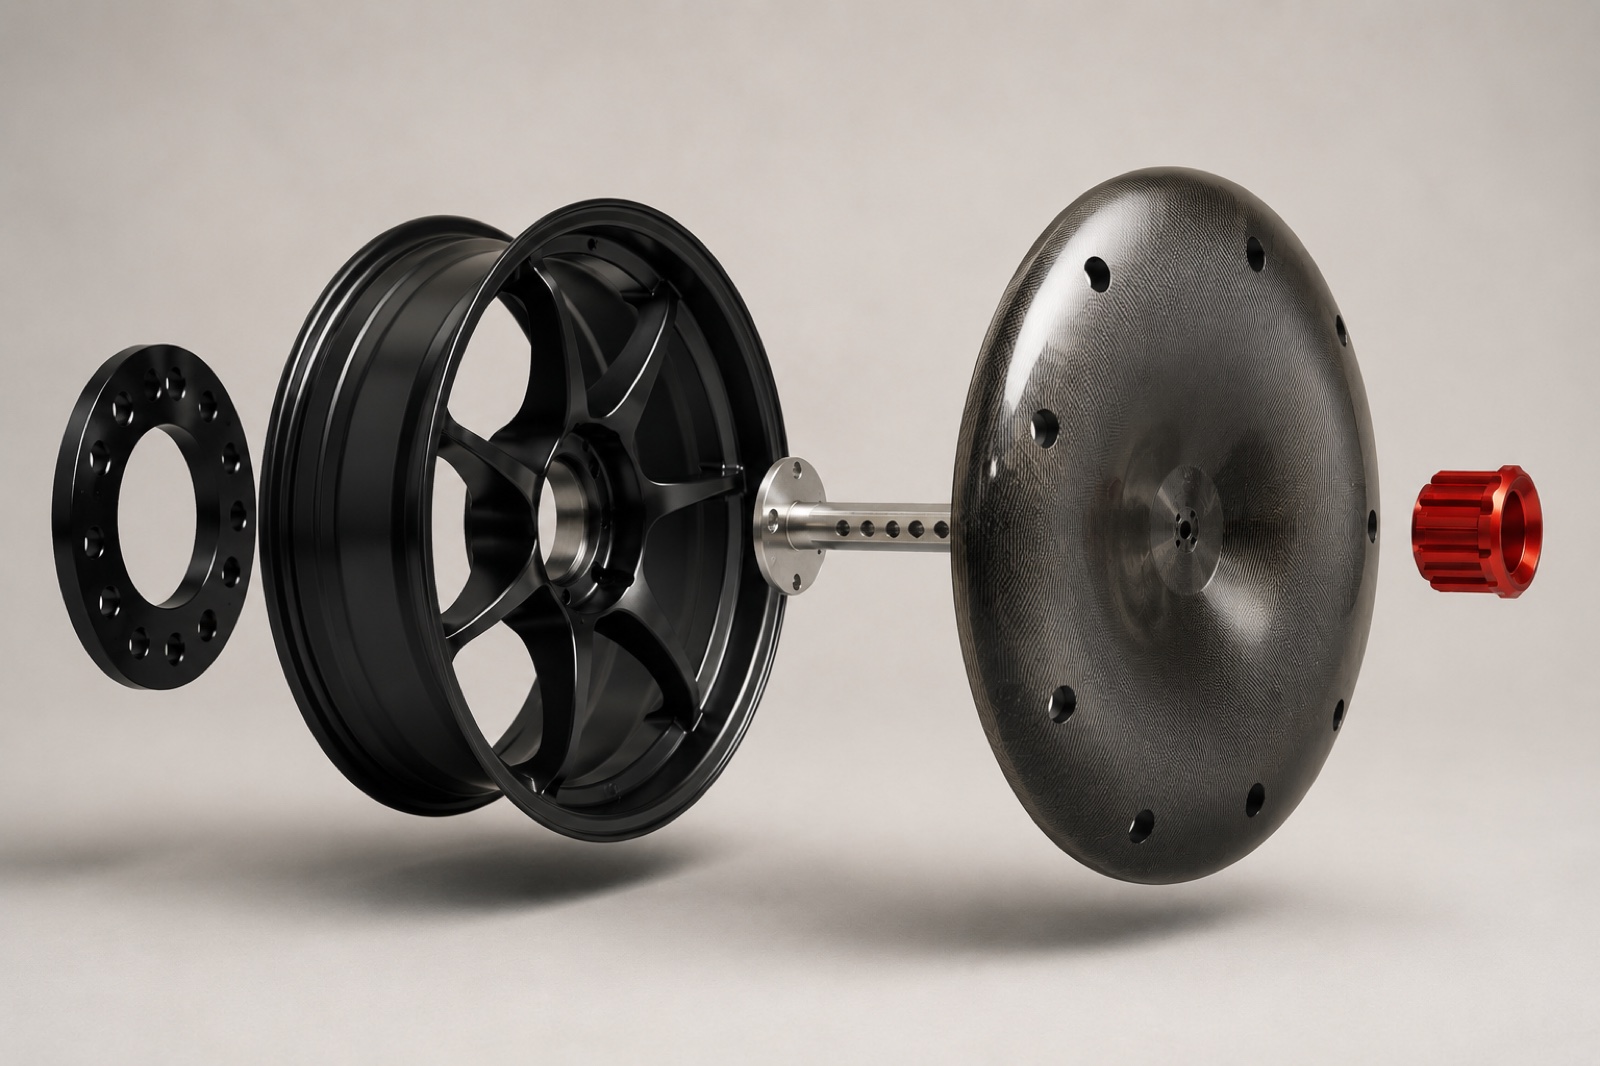
The steps
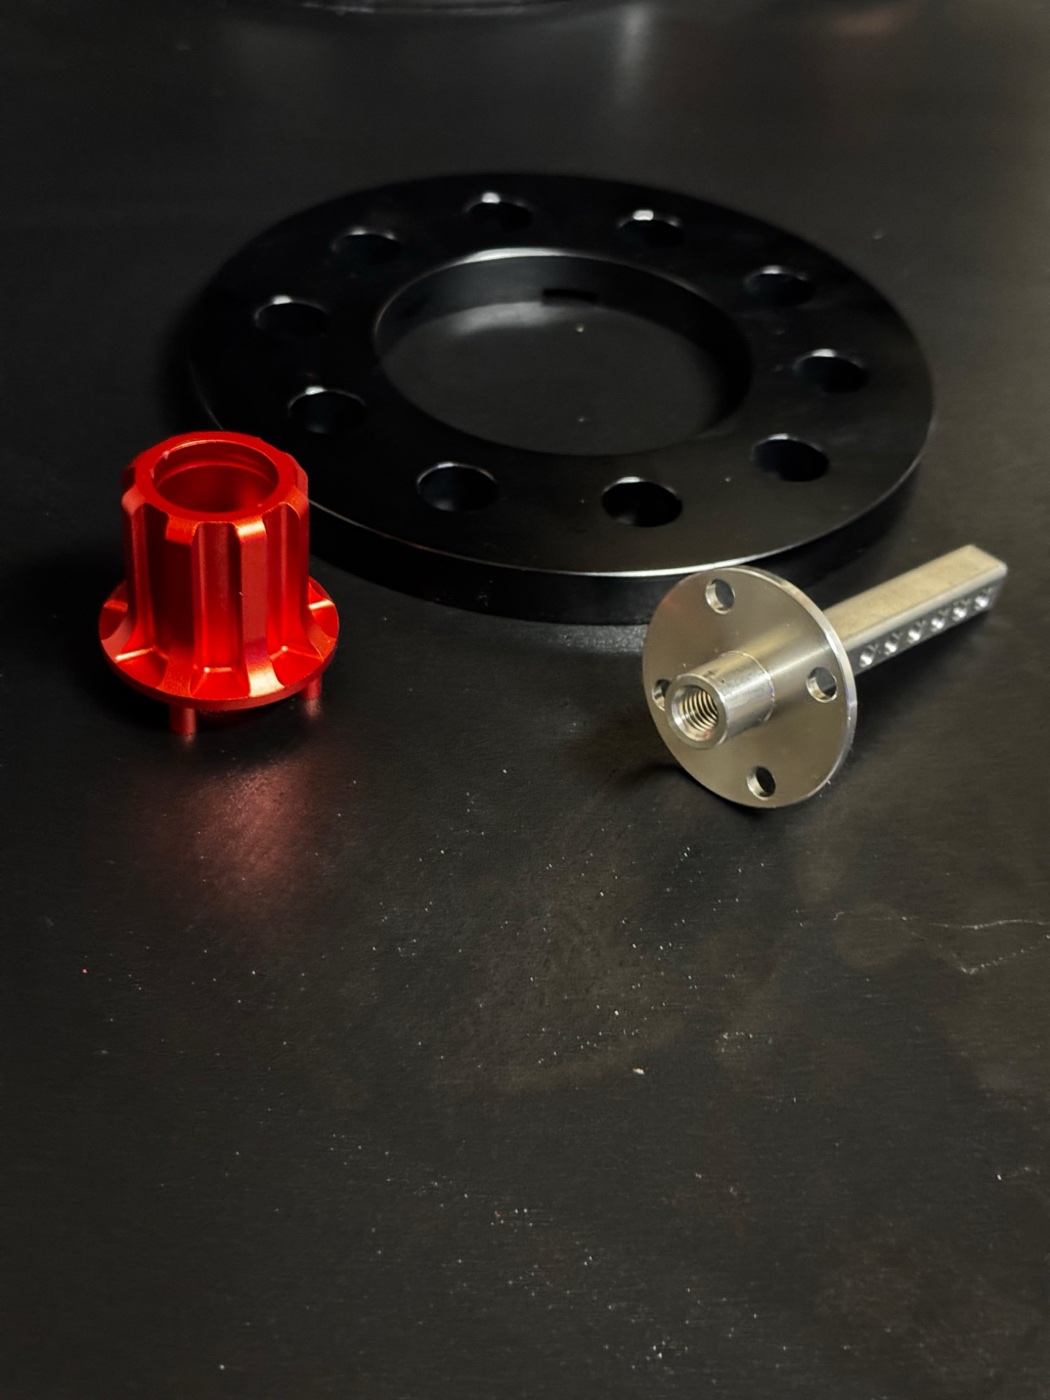
- Fit the spacer. The multi-pattern spacer goes on the wheel studs. This is the only part specific to your bolt pattern.
- Thread the centre post. The machined stainless post threads into the spacer. The row of drilled holes down its shaft sets how far the disc will stand off the wheel face.
- Set the standoff. Choose the hole that puts the disc flush with the rim lip. This is what lets one disc sit correctly on wheels with different dish and offset.
- Mount the disc. The disc locates on the post through the four-hole pattern at its centre hub.
- Torque the centre nut. Tighten the anodised centre nut to the torque specification supplied with your set. Do not guess it, and do not use a figure published for another manufacturer.
- Re-torque after the first drive. Fasteners settle. Re-check torque after your first drive, then at every tyre rotation or wheel service.
Before you fit anything
- Confirm your fitment. 5x112, 5x114.3, 5x120, in 18 to 20 inch. Check yours on the fitment tool.
- Do not fit a damaged part. Any disc, spacer or post that has been cracked, deformed or kerbed hard gets replaced.
- Not for track, competition or timed use. Road use only.
- Use a qualified technician if you are not confident doing it correctly.
The reasoning behind the fastening design, and when we would rather you did not fit covers at all, is inare aero wheel covers safe. Full terms are on the terms page.